🚀 Deploy Your First Range
This guide will walk you through creating and deploying a simple lab environment in under 5 minutes.
What you'll learn:
- How to add your cloud provider credentials to OpenLabs.
- How to create a Blueprint using a JSON template.
- How to deploy a Blueprint into a live Range.
- How to view and delete your deployed Range.
important
Prerequisites Before you begin, ensure you have:
- Completed the Installation Guide so OpenLabs is running.
- Your cloud provider credentials (e.g., AWS Access Key & Secret Key) ready.
🔑 Step 1: Add Credentials
First, let's connect your cloud provider account to OpenLabs.
-
Navigate to http://localhost:3000 or to your OpenLabs instance and create your account.
-
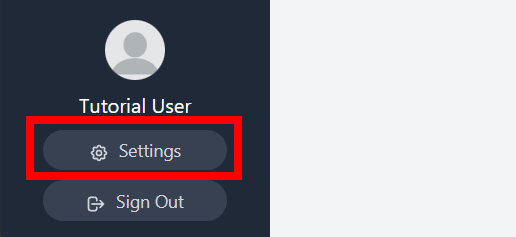
Once logged in, click the Settings icon in the bottom-left corner.
-
Scroll down to the Cloud Credentials section and enter your provider's keys. A successful connection will be marked with a green
Configuredstatus.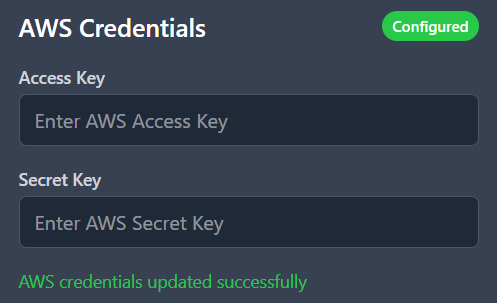
📘 Step 2: Create a Blueprint
Next, you'll define the structure of your lab using a Blueprint.
-
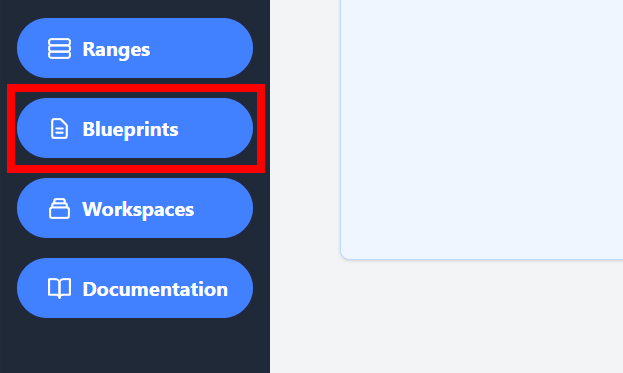
Navigate to the Blueprints dashboard from the main menu.
-
Click the Create Blueprint button.
-
While OpenLabs offers a visual builder, this guide uses the JSON editor for speed. Select the Advanced Mode tab.

-
Click Load Example in the top-right corner to populate the editor with a sample configuration.

-
Click Skip to Review to see a summary and an interactive network diagram of the blueprint.
-
Finally, click Create Blueprint to save it.
🚀 Step 3: Deploy the Blueprint
Now, let's deploy the blueprint to create a live Range.
-
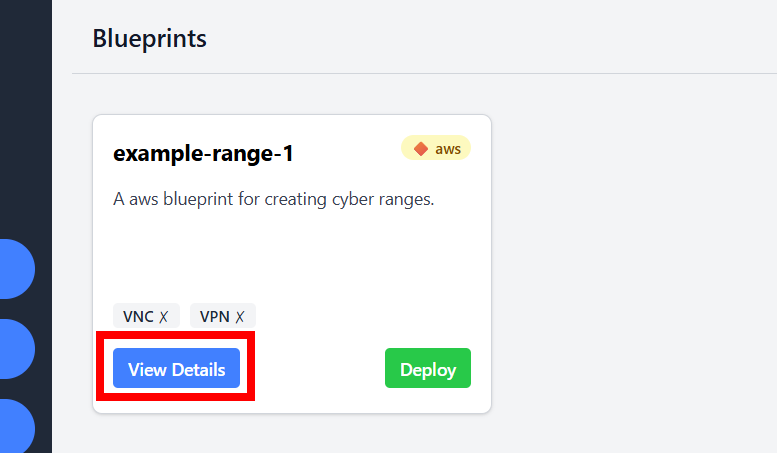
After creating your blueprint, you'll be on the Blueprints dashboard. Find your new blueprint and click View Details.
-
On the details page, review the summary and click Deploy Blueprint.
-
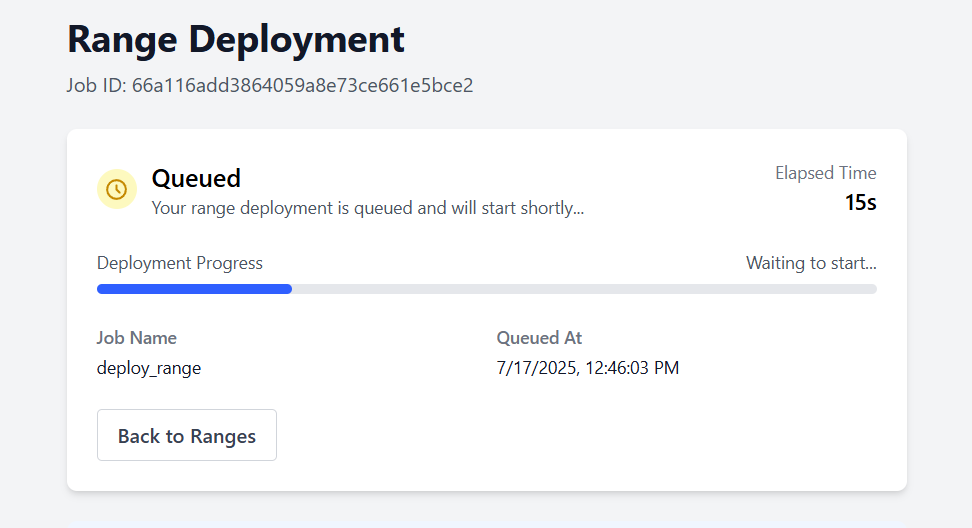
You'll be redirected to the deployment status page. The process takes about 3 minutes. The deployment runs in the background, so you can navigate to other parts of the app while you wait.
-
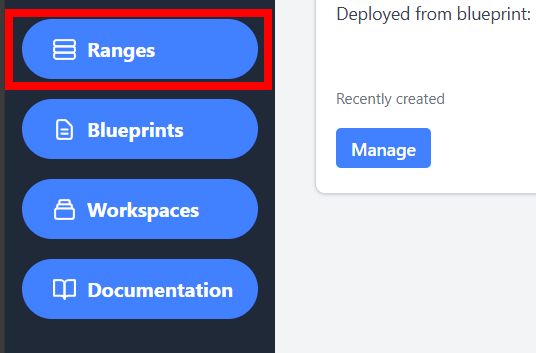
Once complete, navigate to the Ranges dashboard.
-
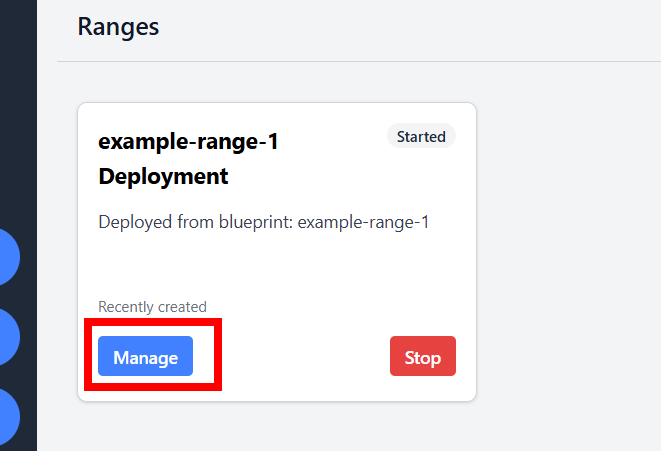
Click Manage on your new range to view its details, including host information and connection details.
🎉 Success
Congratulations on deploying your first Range. Feel free to explore the different features for managing and accessing it. Once you are finished, you can destroy the range by clicking the Delete Range button.
You can continue learning about OpenLabs by looking through our Explanation Section.